Which Backer for Flexible Wood Veneer? Paper, 2-Ply, Polyback or Phenolic
The same veneer can be offered on four different backers. The right choice depends on the surface, the adhesive and the use. Here is how to decide.
01 — What the backer does
Raw veneer is thin, fragile and sensitive to humidity changes. The backer, bonded to the back of the sheet at the factory, stabilizes it. It prevents cracking during handling, lets you cover a 4 × 8 ft surface in one piece and makes installation possible without a press. Choosing a backer comes down to three questions: is the surface flat or curved, which adhesive will you use, and how much wear will the surface take?
02 — The four backers we offer
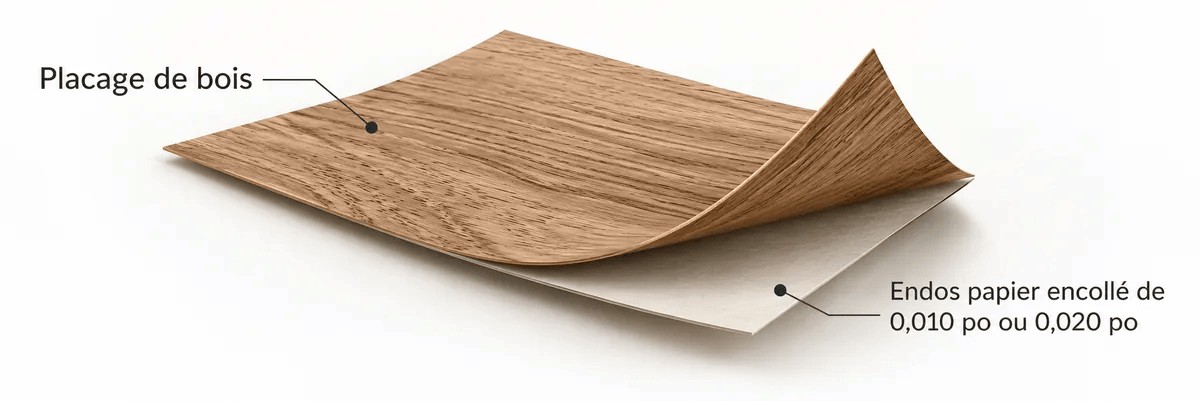
Paper .010
Most flexibleVeneer bonded to a reinforced paper backer about 10 thousandths of an inch thick.
Columns, rounded corners, curved surfaces and refacing existing pieces. The most economical backer.
Very thin: substrate defects can telegraph through. Prepare a smooth surface and sand the finish lightly.
2-Ply (WOW)
Most stable"Wood on wood": the face veneer is bonded to a second veneer with its grain running crosswise.
Large flat surfaces, doors and panels installed with contact cement. The wood back ply hides minor substrate imperfections better.
Stiffer: suited to gentle curves, not tight radii.
Polyback 0.020
VersatileVeneer bonded to a flexible polymer film.
Curved surfaces and contact-cement installs. The backer does not cockle with water-based adhesives.
Check that your adhesive is compatible with a synthetic backer (adhesive manufacturer's data sheet).
Phenolic
Most durableVeneer bonded to kraft paper impregnated with phenolic resin, like the back of a laminate sheet.
Countertops, commercial fit-outs and impact-prone surfaces. Installs like laminate, with contact cement.
Heavier and firmer: test before any curve.
Quick decision guide
The most common situations at a glance.
| Situation | Recommended backer | Adhesive |
|---|---|---|
| Column or tight radius | Paper .010 or Polyback | Contact cement |
| Large flat surface, no press | 2-Ply (WOW) | Contact cement |
| Cold press or vacuum press panels | Paper .010 or 2-Ply | PVA or urea glue |
| Countertop or high-traffic commercial surface | Phenolic | Contact cement |
| Refacing existing cabinets | Paper .010 or 2-Ply | Contact cement |
03 — Installation tips
- Acclimate the sheets for 48 hours in the room where they will be installed, flat or rolled face out.
- Prepare the substrate: clean, dry, flat and lightly sanded (120-150 grit).
- Contact cement: apply to both surfaces, respect the open time, then press firmly with a veneer scraper from the centre outward.
- Curves: bend along the grain when possible. For a tight radius, test on an offcut before production.
- Finishing: sand lightly (150-180 grit) without lingering on the edges, then apply your finish.
Learn more: the full no-press method is explained in our guide Hand-Gluing Wood Veneer. For press work, see the lamination guide.