Hand-Gluing Wood Veneer Without a Press
On a job site, for a repair, or for a small workshop piece, using a hot press or vacuum press isn't always possible. Contact cement and the veneer squeegee let you achieve a solid, well-pressed bond by hand — provided you follow the right method.
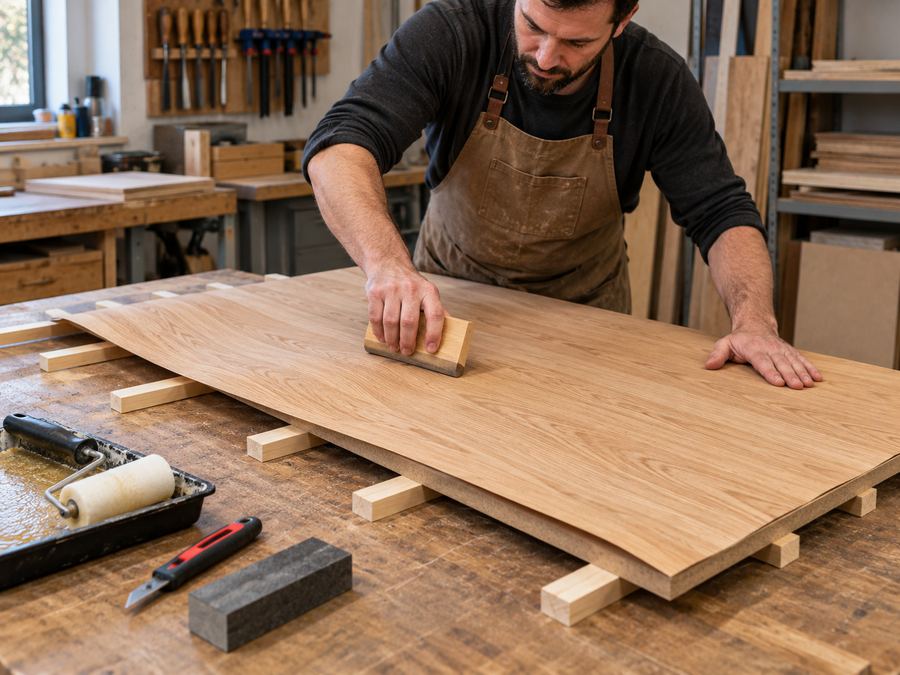
01 — Required Materials
Before you start, gather all your materials: hand-gluing happens quickly once the glue is applied, and there's no second chance with contact cement.
| Tool | Purpose |
|---|---|
| Contact cement (brush or glue roller) | Even application on both surfaces to be joined. |
| Veneer squeegee | Forces out air and excess glue by firmly pressing the veneer, in fan-shaped strokes. |
| Veneer tape or masking tape | Keeps seams and matched sheets well aligned before and during application. |
| Veneer saw or fresh-blade knife + straightedge | Clean cutting of the veneer and trimming of excess after gluing. |
| Household iron (for hot-melt glue) | Reactivates powdered glue or heat-activated edge banding. |
| Scraper and sandpaper (150-220 grit) | Tape removal and seam leveling once fully dry. |
Important — veneer backing: before gluing a veneer onto its substrate (or support), it's strongly recommended that it be backed (paper, Polyback or phenolic). The backing stabilizes the sheet, makes it easier to handle, and reduces the risk of cracking during gluing. See our backed veneers.
02 — The Two Hand-Gluing Methods
The glue you choose entirely determines how you work. Here are the two most common techniques for applying veneer without a press.
Contact Cement
Most CommonGlue is applied to both surfaces (veneer and substrate), left to dry to the touch (open time of 10 to 30 minutes depending on the glue and ambient humidity), then the two surfaces are brought into contact: bonding is instant.
No clamping required — ideal on job sites, vertical or curved surfaces.
No repositioning possible once the surfaces touch. Placement must be perfect on the first attempt — use spacer sticks or waxed paper as a guide if needed.
Cold Glue + Veneer Squeegee
Traditional MethodGlue (PVA or hot hide glue) applied only to the substrate. The veneer is laid down, then pressed and "squeegeed" with the veneer squeegee in fan-shaped strokes that force air and excess glue out toward the edges.
Repositioning is possible as long as the glue hasn't set — more forgiving for complex matching (book-match, fan patterns).
Requires drying time under weight or light clamps (a few hours) — the veneer can lift at the edges if released too soon.
Decision Summary
The most common situations in the workshop or on a job site, summarized at a glance.
| Situation | Recommended Glue | Pressing Tool |
|---|---|---|
| Repair or small piece on a job site | Contact cement | Veneer squeegee |
| Complex matching (book-match, fan) | Cold glue (PVA) | Veneer squeegee + weights |
| Curved or vertical surface | Contact cement | Veneer squeegee or palm of the hand |
| Heat-activated edge banding | Hot-melt glue | Household iron + wood block |
03 — The Steps, in Order
Whichever glue you choose, the work sequence stays the same — only the timing of application changes.
- Substrate preparation: clean, dry surface, lightly sanded (120-150 grit) for good adhesion.
- Cutting the veneer: allow 1 to 2 cm of excess on each side; assemble and hold seams with veneer tape on the visible face.
- Applying the glue: depending on the method chosen — both faces for contact cement, substrate only for cold glue.
- Positioning: align carefully before final contact (contact cement) or while the glue is still wet (cold glue).
- Pressing: work from the center toward the edges with the veneer squeegee, in overlapping strokes, to force out all trapped air.
- Drying: let rest under weight or light clamps for cold glue; contact cement is ready to work immediately.
- Finishing: remove the tape, trim excess with a knife or veneer saw, then lightly sand the seams.
Bubbles or blisters: almost always caused by an insufficiently pressed area. Gently reheat with an iron (contact cement) or reinject a bit of glue through a small incision, then press firmly again.
Veneer splitting when handled: the wood is probably too dry. Lightly dampen the back with a sponge a few minutes before applying it to soften it.