Wood Veneer Services, Custom Panel & Architectural Door Manufacturing
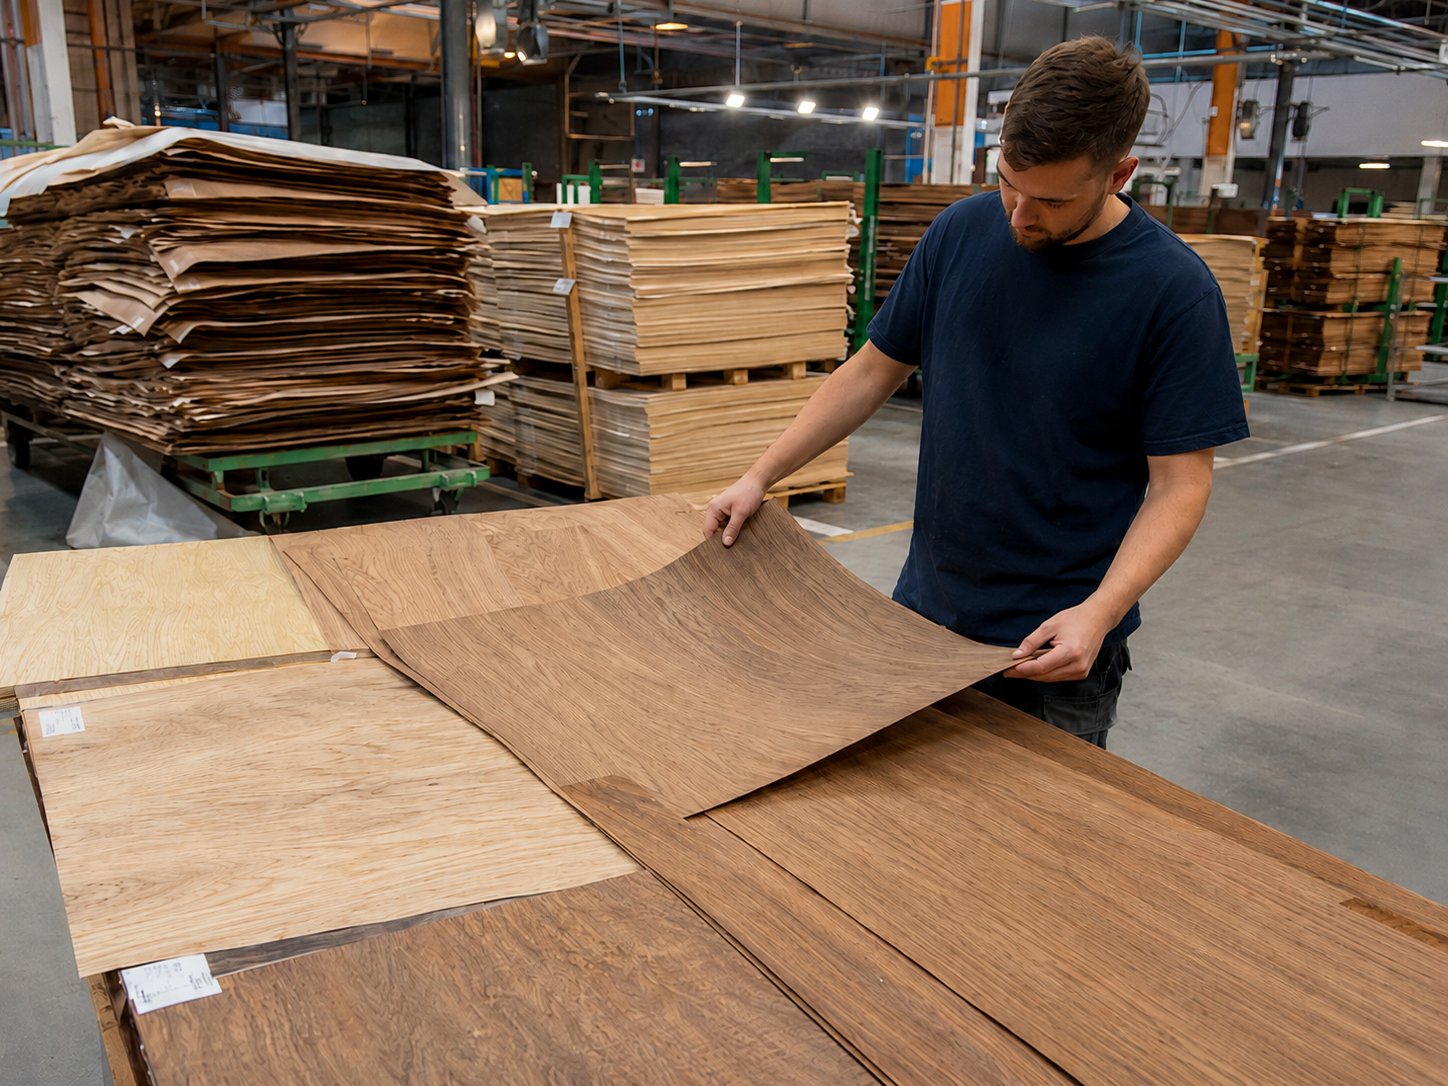
- Architectural
- Sequential "Blueprint"
- Cut to Dimension
- Long Grain & Cross Grain
- Any type of substrate
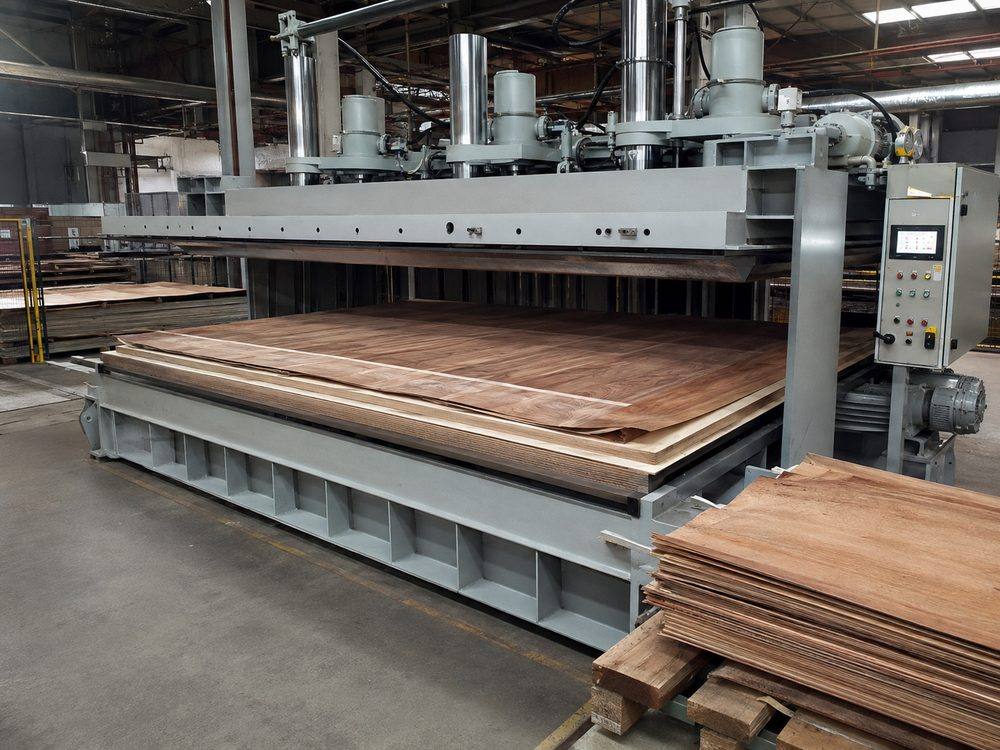
- Natural Wood Veneer
- Reconstituted Wood Veneer
- Laminates
- Panel Thickening
- And more, as required
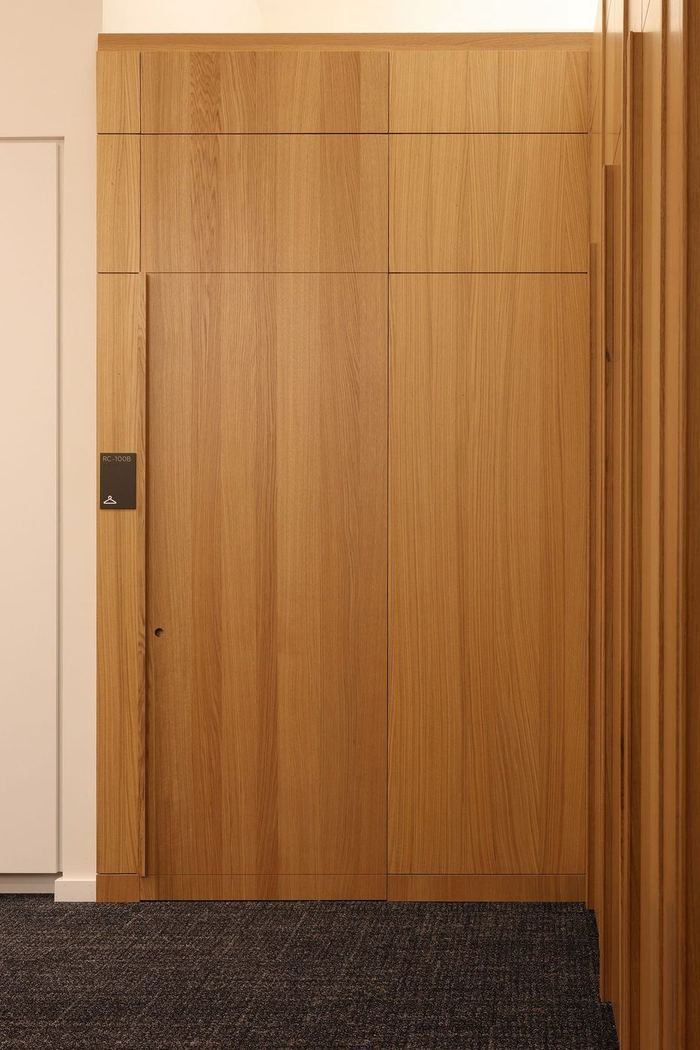
- Custom Wood Veneering
- Precision Machining
- High-End Finishes
- Wood Door Frames
- Installation
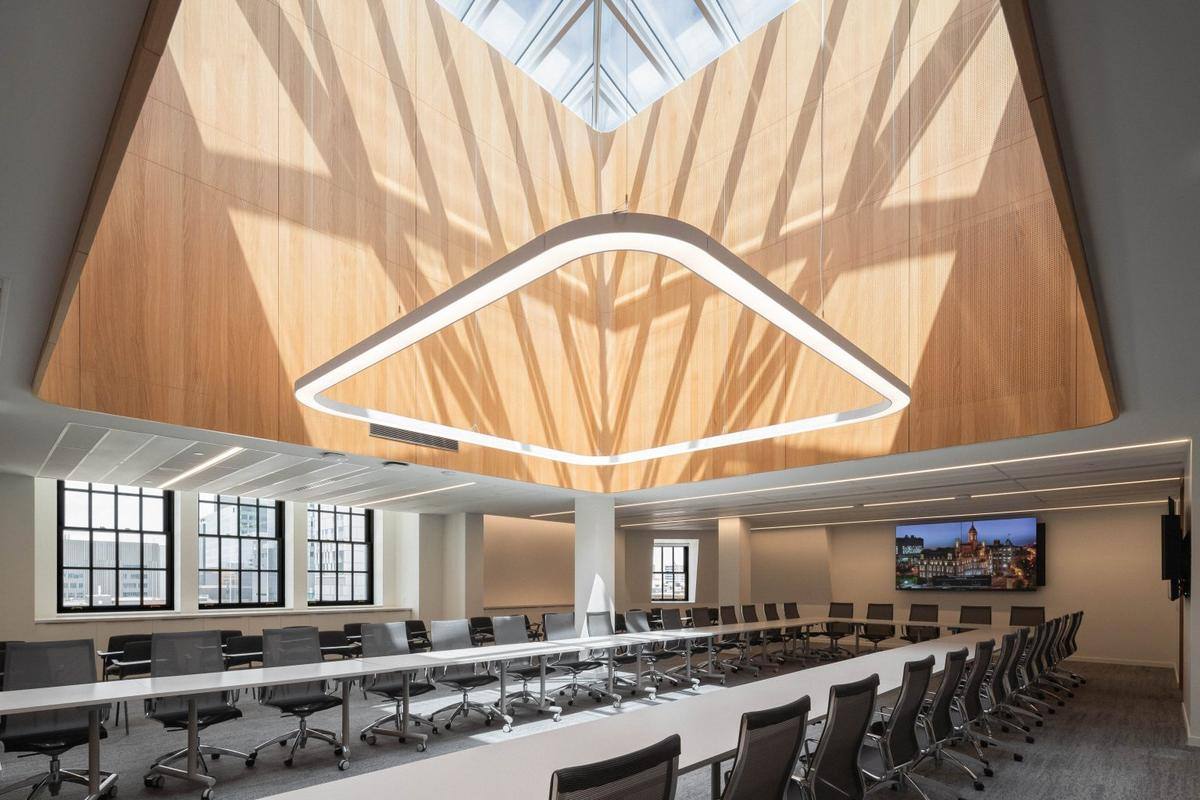
- Species, cuts and grades
- Matching and sequences
- Substrates and feasibility
- Manufacturing and finishing
Sequence-matched panels, or made to your drawings
For architectural and high-end millwork projects, we manufacture panels to drawings specifying dimensions and grain direction, or sequence-matched so the pattern carries from one panel to the next.
Drawings and sequences
Panels sequence-matched or made to drawings specifying dimensions and grain direction.
Matches and patterns
A wide range of veneer matches, custom patterns and special patterns, for a result unique to each project.
Up to 5 × 12 ft
Large formats for walls, cladding and counters: fewer joints, more grain continuity.
Veneer coordination
One veneer coordinated across panels, doors and acoustic elements, for a cohesive result.
See also our custom veneered panels, flexible wood veneer and wood veneer edge banding. For sequence-matched or made-to-drawing panels, see architectural wood panels.
Veneer Cutting & Matching
Rotary cut, quarter sliced, book match, balance match... veneer cutting and matching techniques explained simply.
Hand Gluing Techniques, No Press Required
Contact cement, veneer hammer, or scraper — how to glue wood veneer by hand when a press isn't an option.
Technical Guide: Laminating Wood Veneer Properly
Substrates, adhesives, and press methods — everything you need to know to avoid warping, blistering, and telegraphing.