How to Apply Wood Edge Banding: Pre-Glued or Non-Glued
Edge banding hides the raw edge of a panel and gives it the look of solid wood. Applied well, it disappears. Here is the method, from width to finish.
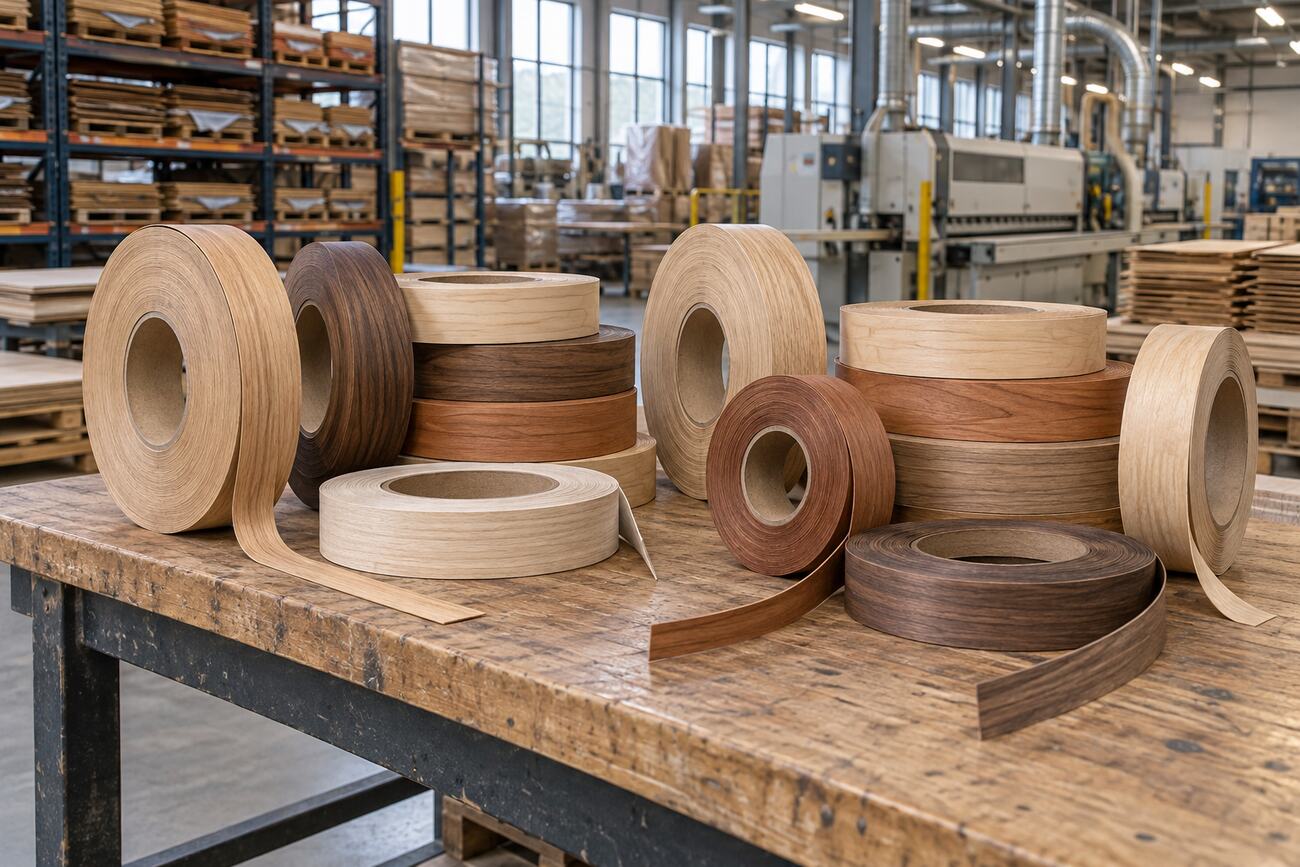
01 — Choosing the right width
The banding should be slightly wider than the panel thickness, leaving a small overhang on each side that is trimmed off afterward. About 1/32 to 1/16 in per side is enough.
| Panel thickness | Recommended banding width |
|---|---|
| 1/2 in | 5/8 in |
| 5/8 in | 3/4 in |
| 3/4 in (most common) | 13/16 in or 7/8 in |
| 1 in | 1-1/4 in |
| 1-1/4 in | 1-3/8 in or 1-1/2 in |
| 1-1/2 in | 1-5/8 in or 1-3/4 in |
02 — Pre-glued or non-glued?
Pre-glued
250 ft rollA hot-melt adhesive is already on the back. You reactivate it with heat, using a household iron or a hand-held edgebander.
Small runs, repairs, job sites and shops without an edgebander.
Heat thoroughly and press while it cools, or the ends may lift.
Non-glued
500 ft rollBare banding applied with your own system: hot-melt edgebander, contact cement or PVA glue.
Production in shops equipped with an edgebander, or manual installation with contact cement.
Respect the contact cement open time: no repositioning once the surfaces touch.
03 — Ironing on pre-glued banding
- Prepare the edge: clean, dust-free and square. A rounded or chipped edge leaves a visible line.
- Cut the banding 1 in (2-3 cm) longer than the edge.
- Set the iron to medium-high (cotton setting), no steam.
- Heat by moving the iron slowly along the full length until the glue melts.
- Press immediately with a wood block or roller while the glue cools.
- Trim once cool: cut the ends, then remove the side overhang with an edge trimmer or knife, cutting with the grain.
- Ease the edges with 150-180 grit paper on a block, then apply your finish.
04 — Applying non-glued banding with contact cement
- Apply a thin coat of contact cement to the panel edge and the back of the banding. MDF and particleboard edges are very absorbent: a second coat is often needed.
- Wait until the adhesive is dry to the touch.
- Position the banding starting at one end, without stretching it, then press firmly along the full length.
- Trim and sand as for pre-glued banding.
Common problems
| Problem | Likely cause | Fix |
|---|---|---|
| Ends lifting | Not enough heat or pressure at the end of the pass | Reheat the area and press until cool |
| Chipping when trimming | Cutting against the grain | Reverse cutting direction, use a sharp blade |
| Visible line along the edge | Edge not square or dusty | True up and clean the edge before applying |
| Colour mismatch with the face | Different species or cut | Use the same species and cut as the panel |